Case Study
Best Installation Practices for Mica-Insulated Strip Heaters
If your heating system relies on mica-insulated strip heaters, proper installation is more than just a technical requirement. It is key to ensuring optimal performance and longevity. A poorly mounted heater can lead to uneven heat distribution, inefficient energy use, and premature failure.
Tips For Reliability & Efficient Installation
Let’s explore the best ways to install your mica strip heaters and achieve reliable, efficient results.
- Surface Preparation: Ensure the surface being heated is clean and smooth for optimal heat transfer. Any imperfections may create small air gaps, causing hot spots and leading to premature heater failure. Mica strip heaters should only be mounted on flat surfaces. Do not use it on curved surfaces.
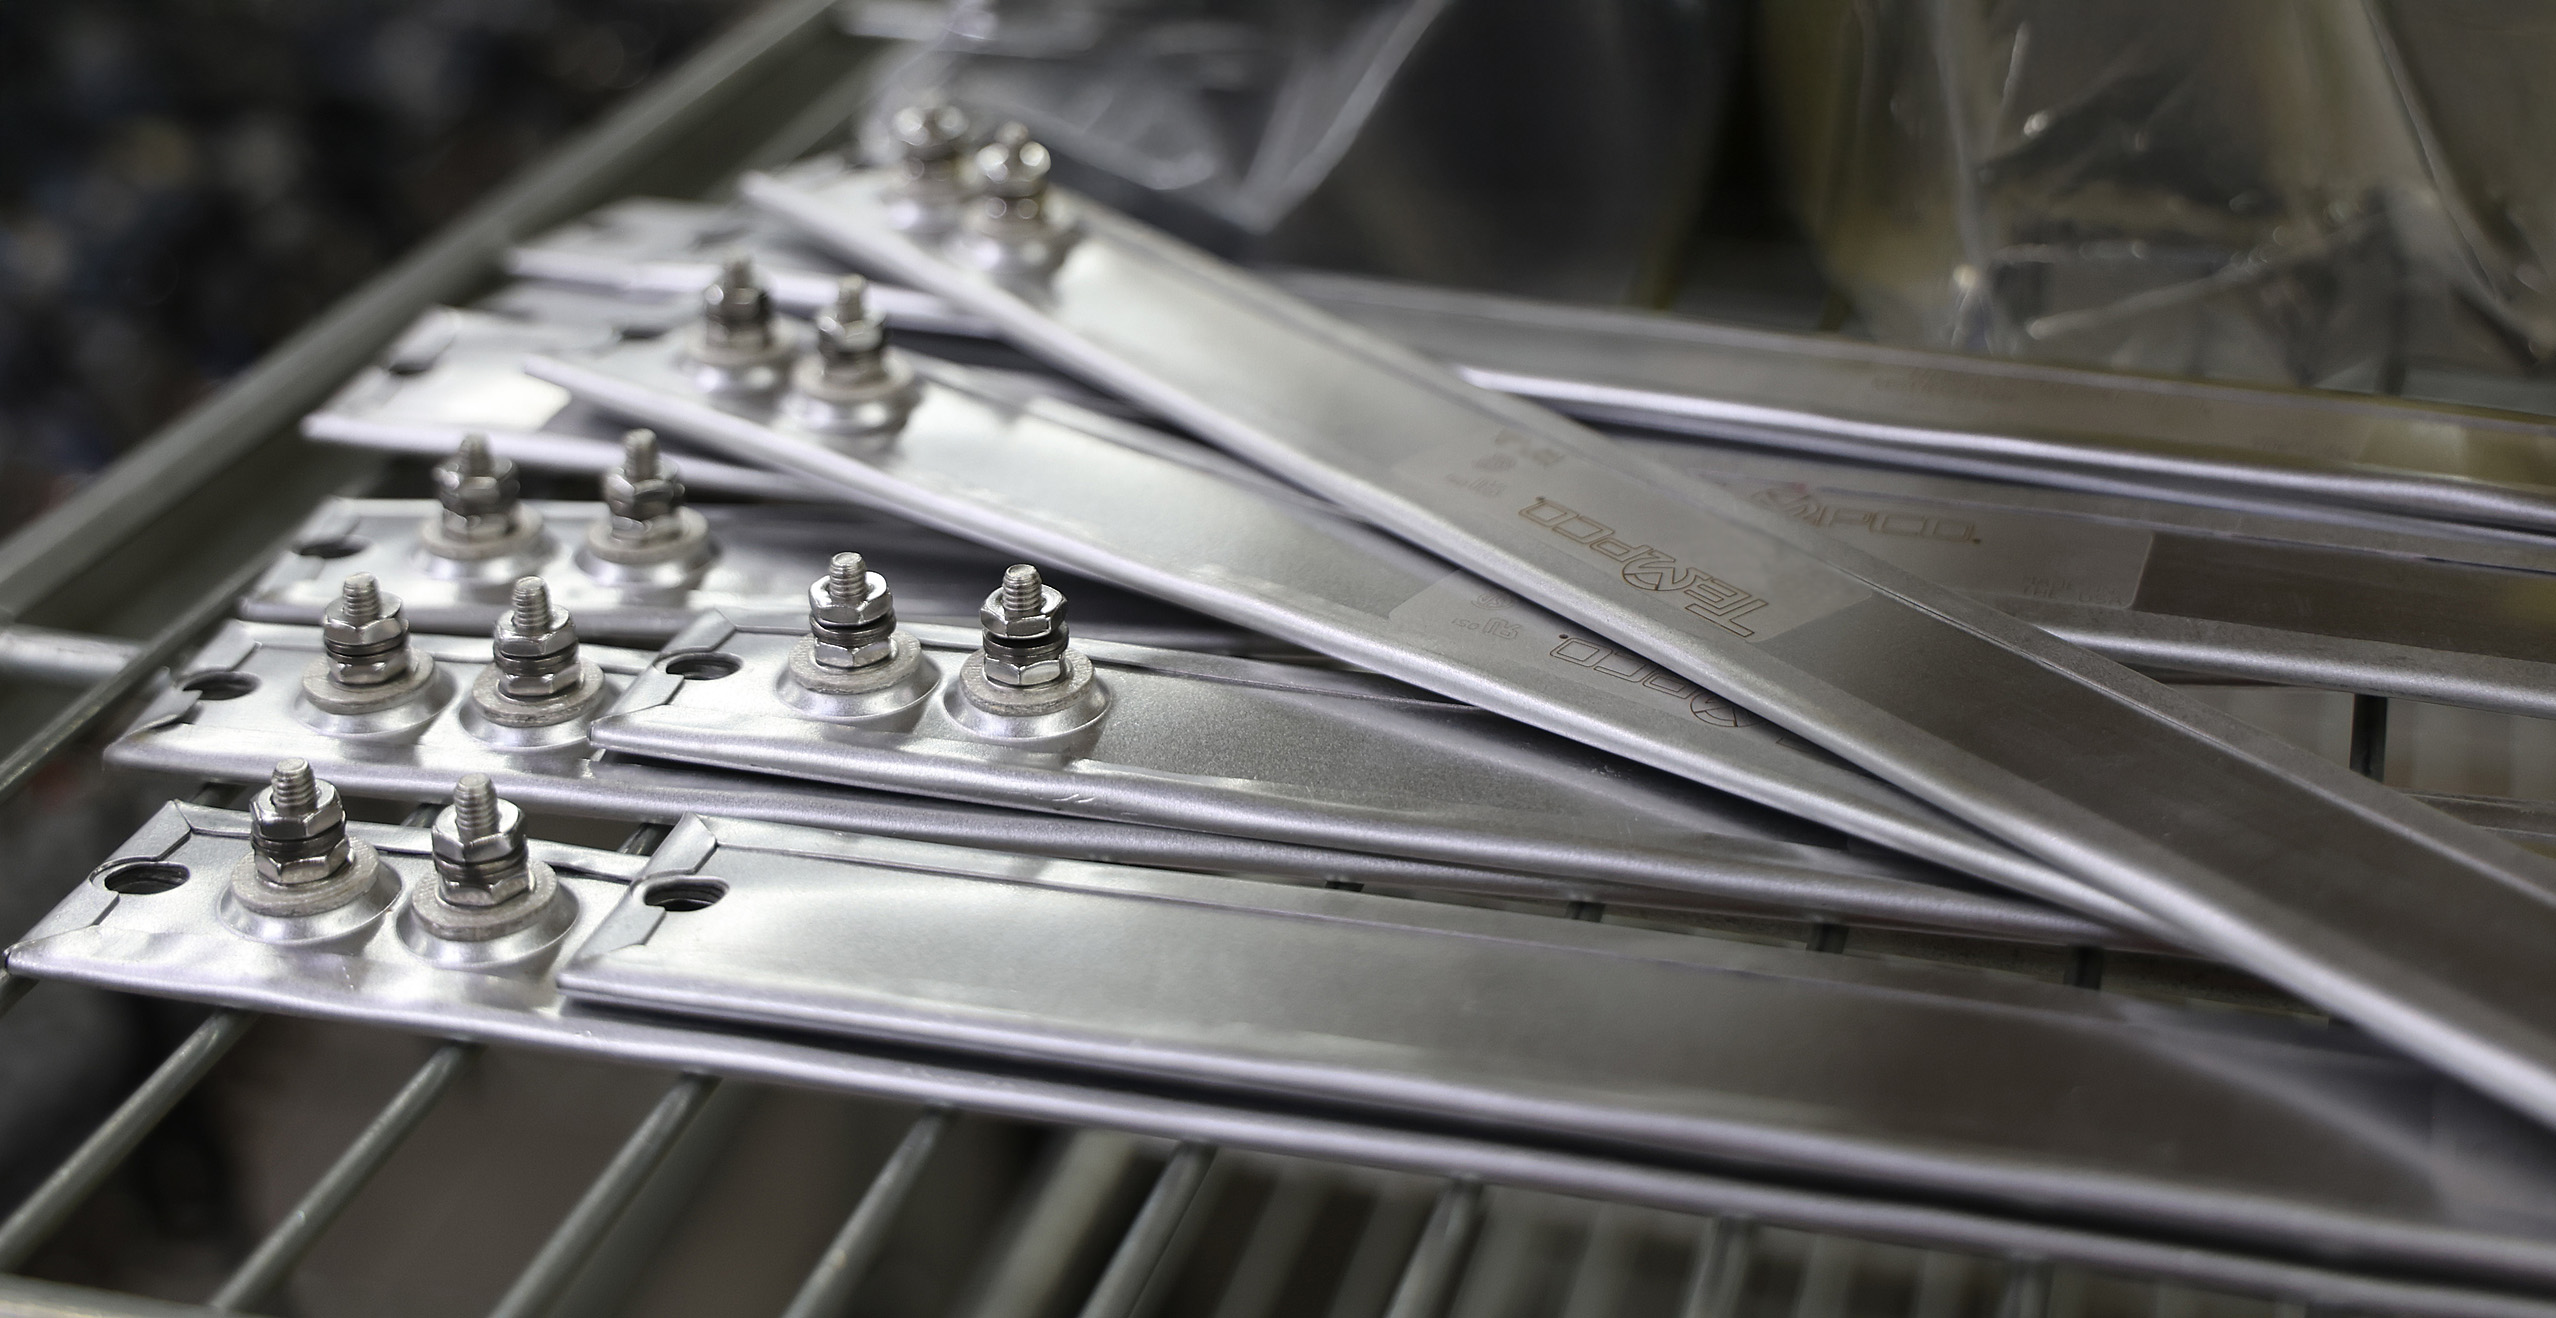
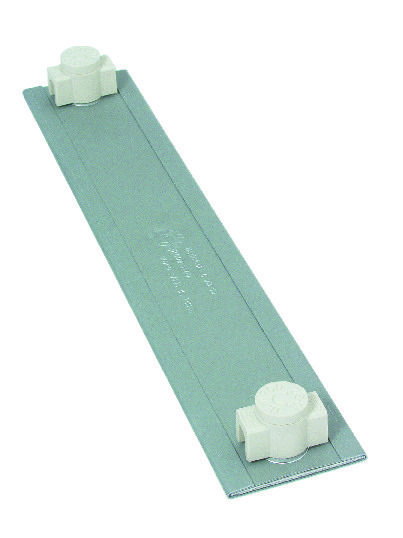
- Secure Clamping: Mica strip heaters must be clamped securely along their entire length. Use metal clamps spaced 3-5 inches apart. If clamping is not possible, mounting holes can be added. However, these should be used sparingly as they occupy valuable winding space, leading to increased watt density and a shorter heater lifespan.
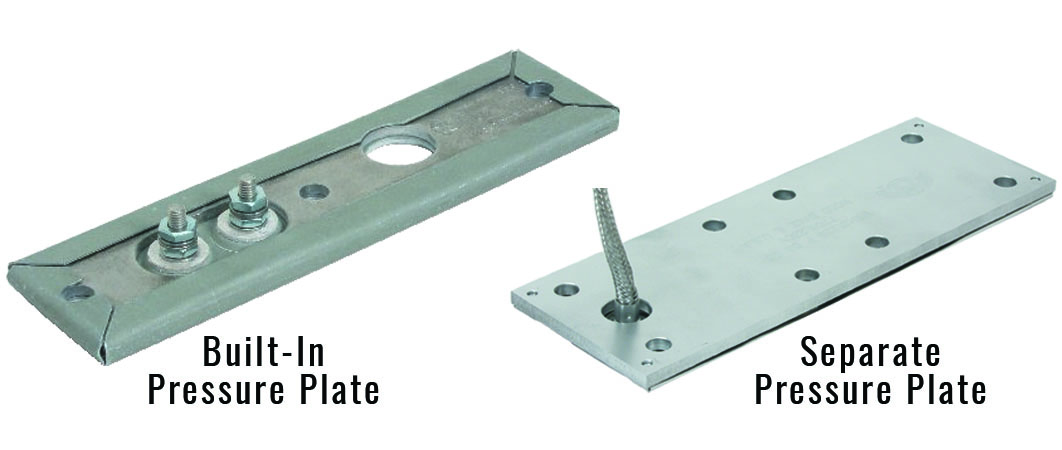
- Consider using Pressure Plates: Mica strip heaters can be made with built-in or separate pressure plates to add rigidity and minimize warping of the heater.
- Linear Expansion Considerations: Due to the thermal expansion of the heater, one end should be secured firmly while the opposite end is slightly loosened to allow for linear expansion. If it’s mounted rigidly, this expansion can create stress, potentially damaging the heater.
- Safety and Maintenance
- Prevent Contamination: Protect the heater from oil, melted plastic, dust, or other contaminants that could cause damage.
- Avoid Moisture: Do not install heaters in areas with excessive moisture or water splash.
- Safety Concerns: Do not install mica heaters in areas where combustible gases, vapor, or dust are present.
- Regular Maintenance: Periodically inspect the heater for wear, damage, or loose connections to maintain optimal performance.
Additional Installation Tips
- Check the Voltage: Verify that the power source voltage matches the heater’s specifications before turning it on.
- Lead Wire Connection: Ensure the wire gauge is appropriate for the amperage needed. Refer to the Current Carrying Capacity Table on the Tempco website (page 16.10) for guidance.
- Screw Terminal Connections: For heaters with screw terminals, remove the top nut and flat washers from the power screw terminals. Do not remove or loosen the bottom nut, as it is pre-torqued at the factory to prevent high-resistance connections, which could lead to premature failure. The recommended screw terminal nut torque is 25 in.-lbs.
- Wiring Configurations: If wiring multiple heaters together, ensure they are properly connected before powering them on. Wiring diagrams can be found on page 16.11 of the Tempco Catalog.
- Thermal Expansion: If the heater is mounted on a surface that might expand or contract due to temperature changes, leave some slack at one end to accommodate movement.
Optional Components for Improved Performance
- Screw Terminal Protection: Ceramic covers for insulating screw terminals are available from Tempco
- High-Temperature Wiring Terminals: High-temperature ring and spade terminals can also be purchased from Tempco
Tempco is more than just a manufacturer of heating elements. We’re committed to solving your unique challenges. Our mica-insulated strip heaters are designed to deliver superior performance, offering optimal heat distribution, improved energy efficiency, and a more reliable system.
Solving Unique Challenges? We Have Your Back.
Tempco’s engineering team is here to collaborate and create tailored solutions for your needs.
Ensure your heating system operates at its best.